How to write a drywall estimate: a contractor's pricing guide
How to write a drywall estimate that covers your real costs: measure correctly, price hanging and finishing separately, set a repair minimum, and apply markup.
Drywall is one of those trades where a small pricing mistake multiplies fast. Underprice the finishing hours on a 2,000-square-foot new build and you've eaten three days of labor. Forget to set a minimum on a repair call and you're driving across town for $90. Knowing how to write a drywall estimate — one that accounts for square footage, labor split by phase, material markup, and your real overhead — is what separates a job that pays from one that doesn't.
This guide walks through every line item: from your square-footage takeoff to your finish-level rate card to the change order clause that protects you when scope creeps.
Take your measurements before writing a number
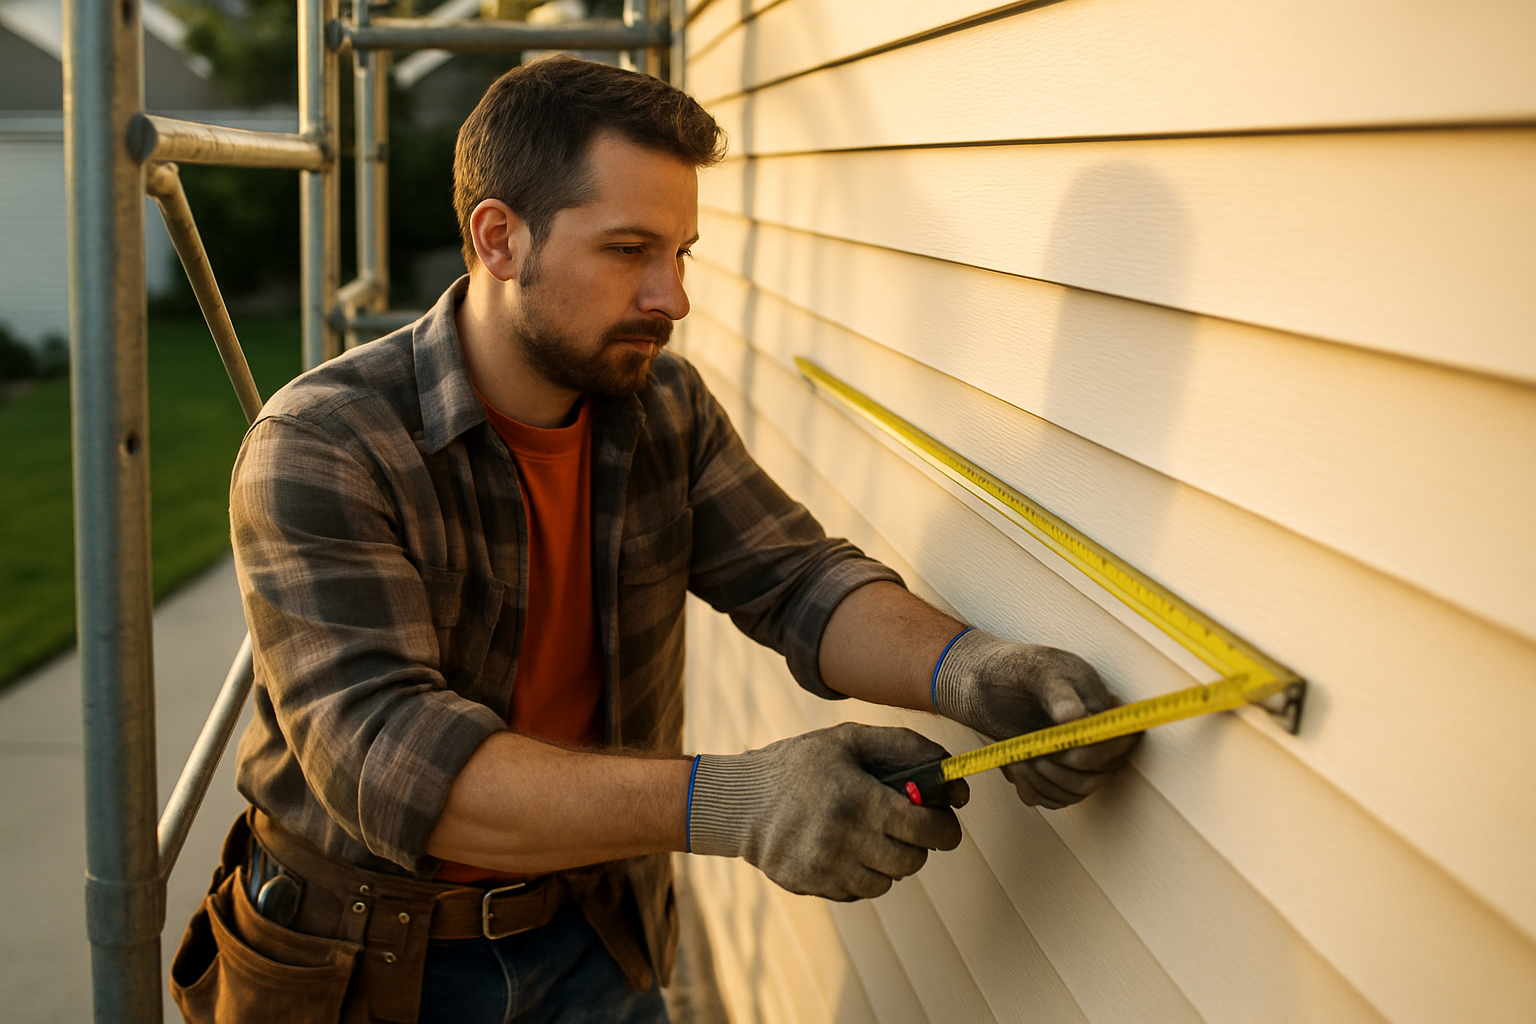
Every accurate drywall estimate starts with a takeoff — a precise count of the paintable surface area in square feet. Here's the sequence:
- Wall area: Measure each wall's width, multiply by ceiling height. Add all walls together.
- Ceiling area: Room length × room width. Keep it separate from wall area since some jobs only touch walls or only touch ceilings.
- Subtract openings: Deduct roughly 15 sq ft per standard interior door and 8–12 sq ft per window. On large open-plan jobs where openings are less than 5% of total area, many contractors skip this step and let it wash into their waste factor.
- Add a waste allowance: Standard industry practice is to add 10–15% above net area to account for cuts, board ends, and returns around odd-shaped rooms.
Organize your takeoff by room and by surface type. A smooth-finished residential living room and a utility room that gets Level 1 tape are different jobs, and your estimate should treat them that way. Whether you use a spreadsheet or job-estimating software, write the numbers down. If a customer disputes your quote three weeks from now, showing your work wins the argument.
Material costs and markup
Material costs are the most predictable part of a drywall bid. Your main line items:
- Drywall panels: Standard 1/2-inch for interior walls and ceilings; 5/8-inch Type X where fire-rated assemblies are required; moisture-resistant board (green or purple board) for bathrooms, laundry rooms, and anywhere a steam shower is involved.
- Joint compound: Pre-mixed all-purpose mud for most work; lightweight compound for finish coats; setting compound (hot mud) when you need fast-cure patches.
- Tape, corner bead, screws: Paper tape and metal bead are the workhorses. Vinyl bead saves installation time on some jobs. Have composite bead on hand for curved returns.
- Primer: Required for Level 4 and Level 5 finishes — build it into your material line, not a surprise add-on.
To calculate sheets needed: divide your net square footage by 32 (the area of one 4×8 panel), then multiply by 1.10 to 1.15 for waste, and round up to whole panels.
Price materials at your actual supplier cost, then apply a markup for your purchasing time, truck space, and the risk of price fluctuations between quote and delivery. The right percentage is yours to set based on your market and the complexity of the job. Use the free markup calculator at JobEstimator to apply your target percentage and see the dollar impact before you finalize any bid.
If you're deciding whether to show materials as a separate line item or fold everything into a single per-square-foot rate, the tradeoffs are laid out in lump-sum vs. itemized quoting for contractors. For commercial or GC-driven work, itemized is almost always expected. For residential, lump-sum often wins on simplicity.
Price hanging and finishing separately
This is where drywall contractors most often leave money behind: charging one blended rate when hanging and finishing are fundamentally different work at different speeds.
Hanging (also called rocking) is the physical phase — cutting panels, running screws, navigating outlets, windows, and returns. An efficient crew moves quickly on open new-construction floor plans and considerably slower on tight remodel work with lots of corners, returns, and obstacles.
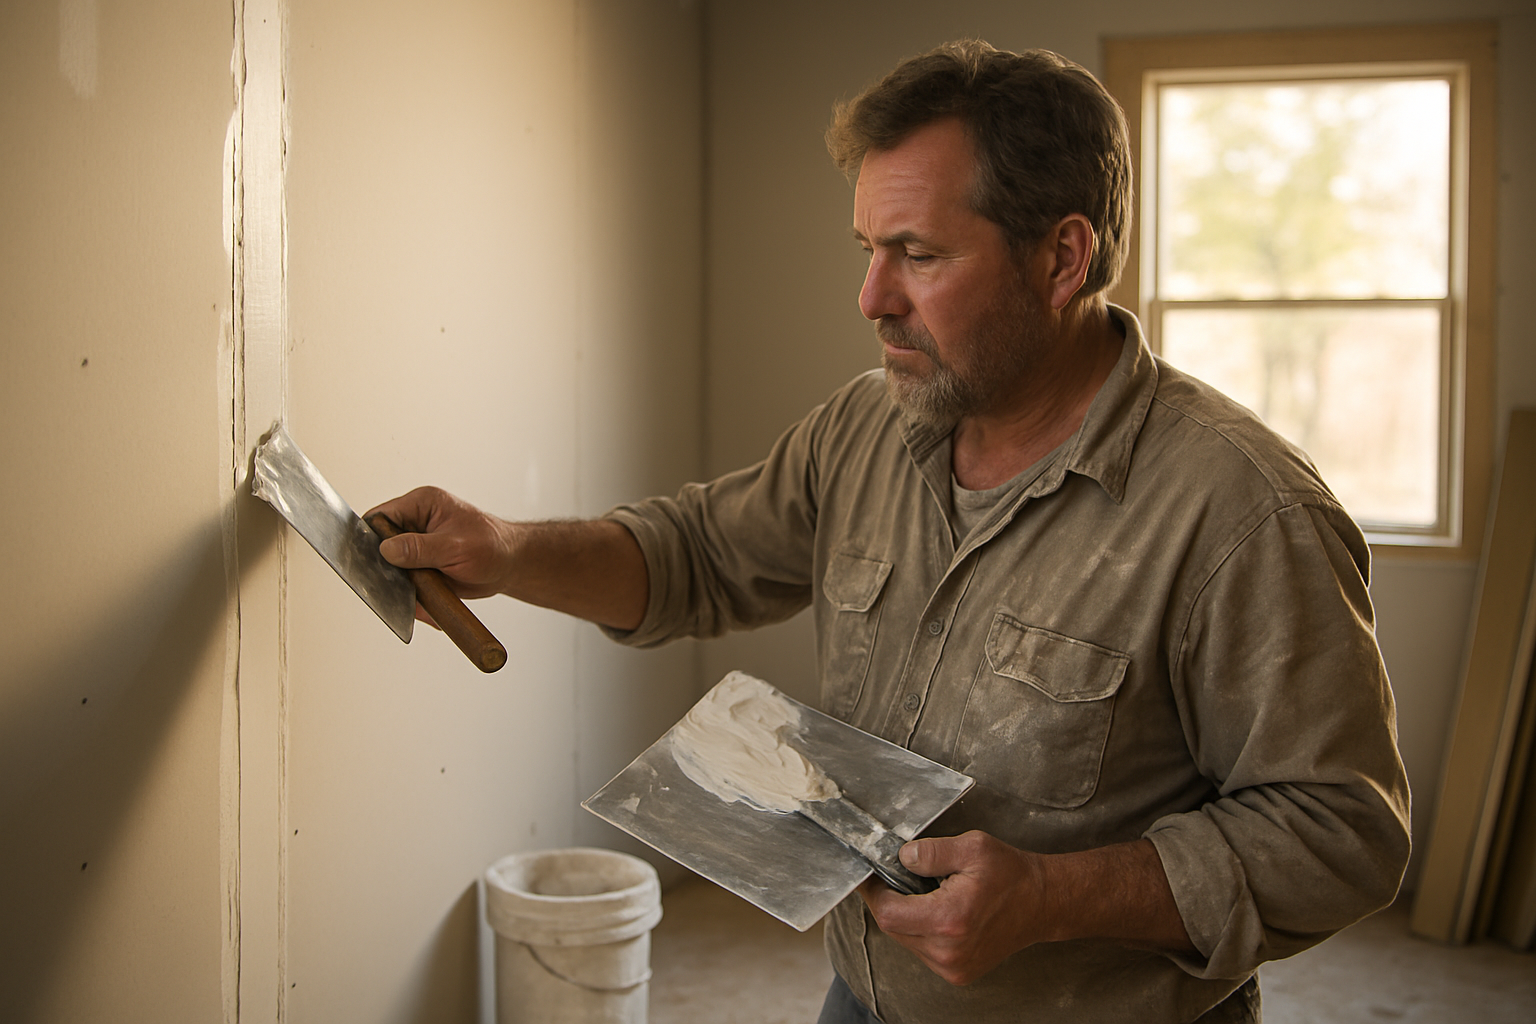
Finishing is slower and time-constrained. Joint compound needs 12–24 hours to dry between coats, so finishing a 1,000-sq-ft room takes a minimum of three days even if you're in and out quickly each day. Finishing skill has a steeper learning curve than hanging skill, and that expertise carries a price premium.
The Gypsum Association's Level 1–5 finish standard is the industry-wide reference used in residential and commercial project specifications. Level 1 is tape embedded in compound with no topping coat — appropriate for mechanical rooms and surfaces that will be covered. Level 5 is a full skim coat of compound applied to the entire surface, sanded smooth, and sealed with a primer — required for gloss paint, smooth-painted accent walls, and high-end interiors where raking light exposes every surface imperfection.
Confirm the required finish level on every job before you write a number. Most residential new construction calls for Level 4. Custom homes with smooth-painted interiors often call for Level 5. If you assume Level 4 and the GC's spec sheet says Level 5, you eat the gap.
Set a minimum charge for repair work
Repair jobs are where drywall contractors routinely underprice themselves. A homeowner calls about a doorknob hole. The patch itself takes twenty minutes. But that twenty minutes came with fuel, drive time, bringing in a light, mixing a small batch of hot mud, texturing to match the existing wall, cleanup, and invoicing time.
The U.S. Bureau of Labor Statistics reports a median annual wage of $58,140 for drywall and ceiling tile installers as of May 2024 — equivalent to roughly $27.95 per hour for an employee. As a self-employed contractor, your billing rate has to cover that base plus the IRS self-employment tax of 15.3% on net earnings, your general liability insurance, vehicle costs, and business overhead. That pushes your real cost per billable hour substantially above the employee median — well beyond what feels like a simple "hourly rate."
Set a floor on repair work that reflects the true cost of mobilizing for a small job. A repair minimum should cover at least two to three hours of your real billable cost — travel, setup, texturing to match, cleanup, and invoicing — regardless of how small the hole is. State that minimum clearly in your estimate so there are no surprises at the invoice. Customers who balk at a fair minimum weren't going to be profitable customers anyway.
Structure your written drywall estimate to protect yourself
The estimate document is a contract in practice even before anyone signs anything. Include these line items and clauses:
| Section | What to specify |
|---|---|
| Hanging scope | Sq ft by surface type, panel spec (1/2-in, 5/8-in Type X, moisture-resistant) |
| Finish scope | Sq ft, finish level (1–5), number of coats included |
| Materials | Panel count, compound type, with markup stated or included in unit rate |
| Exclusions | Painting, primer application, water damage remediation, asbestos or lead-paint testing |
| Payment terms | Deposit at job start; balance on completion — specify amounts in dollars, not percentages |
| Price validity | Quote valid for 30 days — material costs fluctuate and long gaps in start dates can shift your panel prices |
| Change orders | Any scope change beyond what is listed here requires a signed change order before work begins |
That last line is the one most contractors skip and later regret. When a GC asks you to add two extra rooms while you're on site, the verbal handshake feels fine until the invoice gets disputed. A standard change order process — documenting scope, rate, and authorization before work begins — is what keeps that conversation clean. See how to write a change order for contractors for a template and the clauses that actually hold up.
Takeaways
- Takeoff first, price second. Accurate drywall estimates start with a room-by-room square footage count before any dollar figure is written. Don't price from memory.
- Separate hanging from finishing. They're different skill sets, different daily production rates, and different crew days — a single blended rate loses money on finishing-heavy jobs.
- Confirm the finish level in writing. Level 4 and Level 5 are significantly different in both labor time and material requirements. Get the spec confirmed before you commit.
- Set a minimum on repairs and hold it. Every mobilization costs real money. Know your floor and state it clearly in your estimate.
- Spell out exclusions. Painting, priming, moisture mitigation, and lead-paint testing are common scope add-ons that contractors get stuck doing for free when the estimate isn't specific enough.
Build the next bid on numbers you can defend
The drywall contractors who price consistently profitable jobs aren't guessing — they work from a repeatable formula: square footage takeoff, finish-level-specific labor rates, material cost plus markup, and a firm minimum on repairs.
JobEstimator is built for exactly this kind of structured quoting. Enter your scope, your labor rates by phase, and your material markup, and the tool produces a clean, itemized estimate you can send directly to a homeowner or GC — in under two minutes. Plans start at $39/mo. If you're still rebuilding estimates from scratch on every job, you're spending time you don't have on work you could automate.